


Description
Additional Features
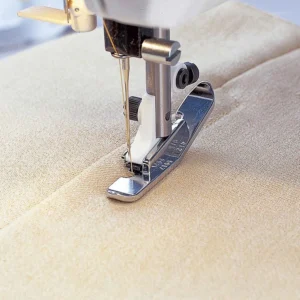
- Cutouts in front and side give better visibility to needle
- Provides consistent 1/4″ stitching from template edges
- Red markings indicate the foot’s center
Specifications
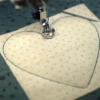
How To Use:
- Loosen the presser foot ankle screw completely and remove the ankle.
- Place the Free Motion Ruler Foot around the presser bar and attach it with the screw.
- Thread your machine
- Select a straight stitch and set your machine to Free Motion Ruler Foot mode. The feed dogs will drop automatically.
Note: When the feed dogs are dropped, the fabric is no longer fed by the machine. You must move the fabric. - Place the fabric under the foot and lower the foot.
- Bring the bobbin thread to the top by taking one stitch. Hold onto both threads and sew a few stitches in place to begin.
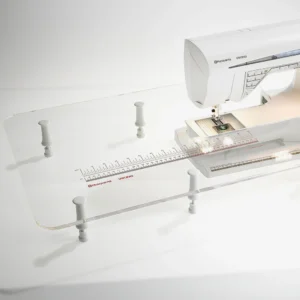
- Slide the edge of the ruler up to the foot. Place enough pressure on the ruler with your fingertips to gently glide the foot along the edge without the ruler moving.
- Sew along the edge of the ruler. When near the end, stop the machine, lift the presser foot and slide the ruler into position to continue stitching the design. When changing positions, stop the machine, and simply reposition the ruler and stitch in the direction needed to follow the ruler.

Reviews
There are no reviews yet.